With Version 8, you can now have all of your flash messages appear in one pop up window and you can create pre-determined flash messages to be attached on all accounts under a client.
Note: This is a Version 8 Feature. For information on obtaining this or any other feature, please contact the Sales Department
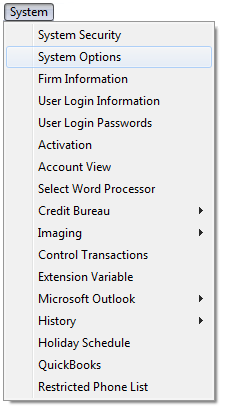
Go into System>System Options
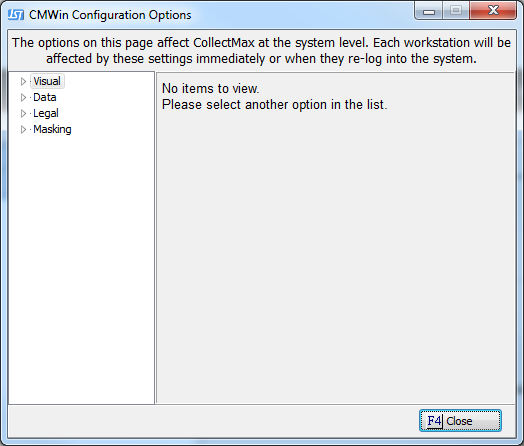
to display the System Options Screen.
Select Visual and select Flash Message. Here, you will notice the types of messages you would like to display.
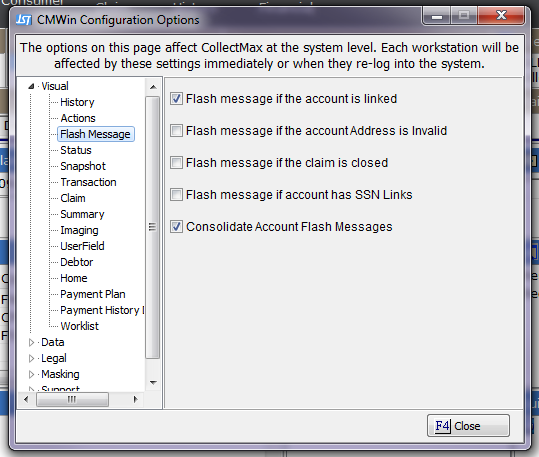
The Consolidate Account Flash Messages option will group all messages for the account into one message box.

You can also set up pre-defined groups of messages to be displayed. These can then be assigned by client.
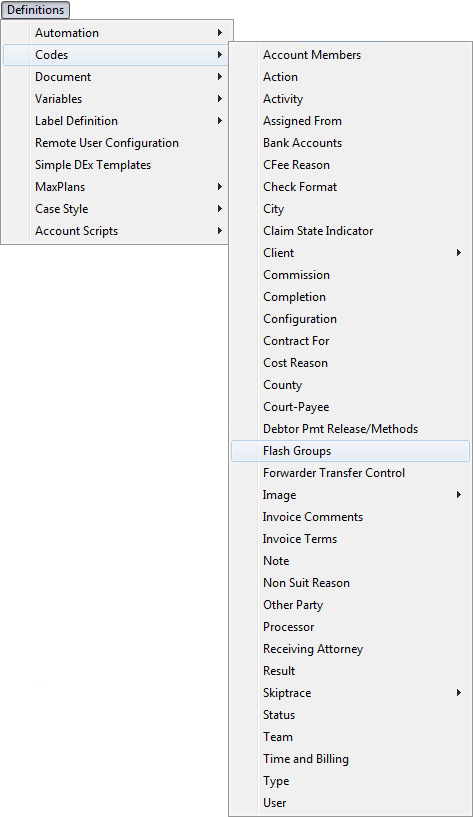
Go to Definitions>Codes>Flash Groups.
This will bring up the Flash Message Group Codes window.
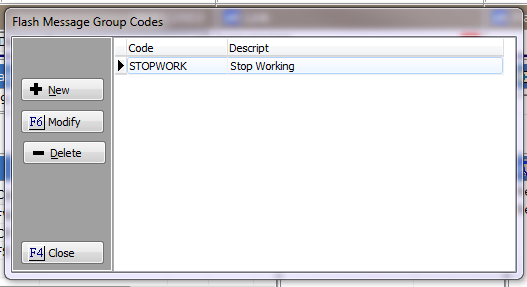
Click New to create a new group, or Modify to alter an existing group.
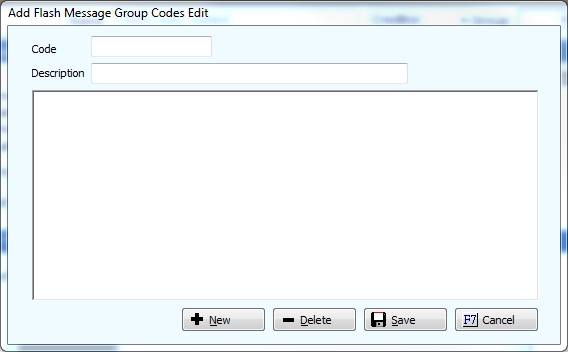
Add a code for your message. No spaces or special characters.
Add a description of that code so you will know what the flash message will say from the pick list of codes.
Click the  button.
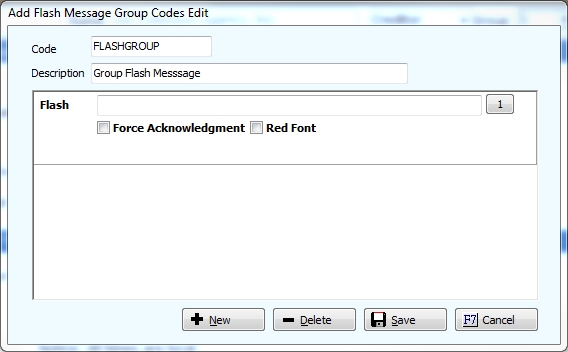
Add the Flash Message Text.
The number buttons on the right allow you to choose the order which the messages are displayed. The Force Acknowledgment option makes the user check a box in order to close the prompt. The Red Font option displays the message in red.
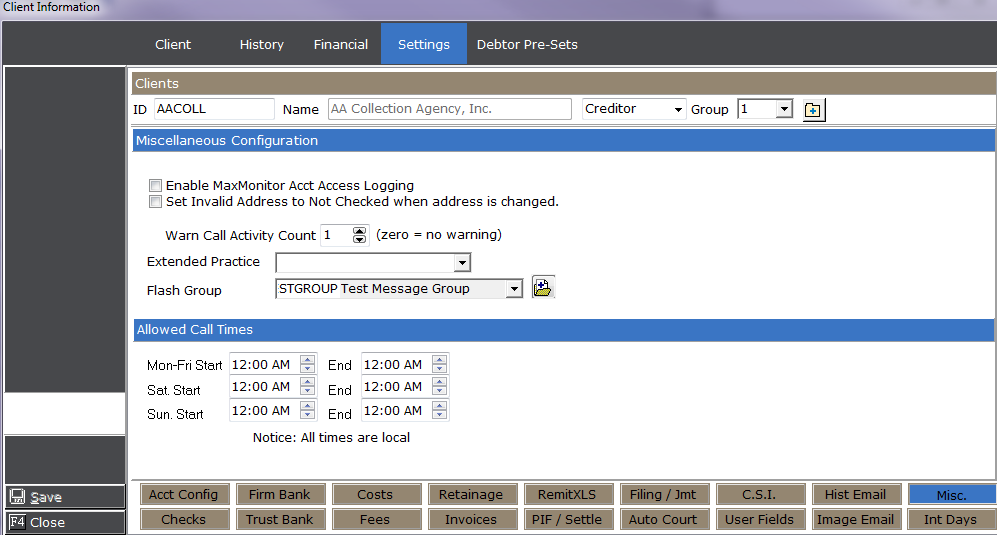
In the Client Settings page under Misc, you may choose your Flash Group for messages to be displayed on the respective debtor accounts.

As seen above, the messages in the Flash Group are included with the Account Flash Messages. Also note the OK button is disabled. This will remain in that state until the Acknowledgment box is checked.